
So, without further explanation: I present ROCKET BOX.

WHAT YOU'll NEED
* The bottle separators from a LARGE case of wine
* Scissors
* Hot melt glue gun
MAY BE NICE ... BUT NOT NECESSARY
* Paint
* Glitter
* Markers
TOTALLY A SPLURGE
* The wine that came in the box.
WHAT YOU DO

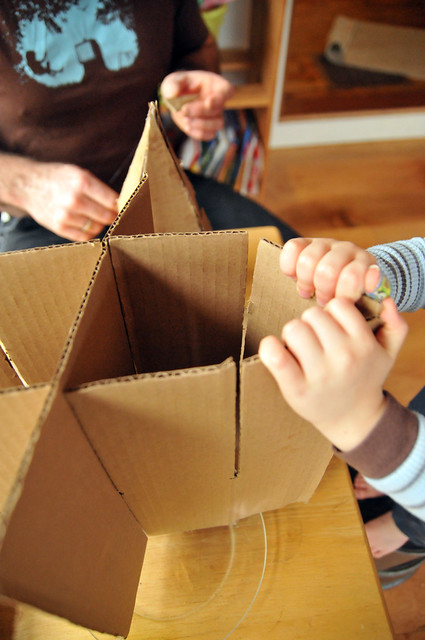
* Take the inserts out of the box.
* Cut away one section of cardboard from a four-section piece.
* Cut the top of the remaining tabs into triangles.
* Fold so that you have a square box and pointed end.
* Glue the edges in place creating a box and nosecone.
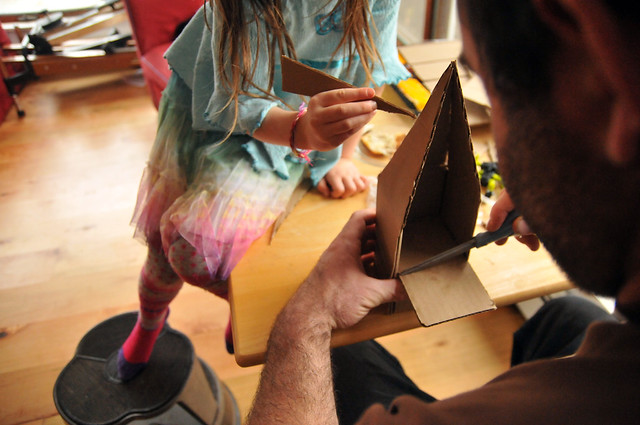
* Cut another triangular piece and glue into the nosecone.
* Take the fourth section of cardboard and glue it into the bottom of the rocket, a section will extend past the box. Allow enough extra space so that it "catches" under the rocket's nosecone.
* Score the bottom piece of cardboard and fold it upward to make a flap.
* Add as many floors (compartments) to the rocket as will fit.
* Cut more triangles and glue to exterior ... these can be handles.
* Decorate or leave plain
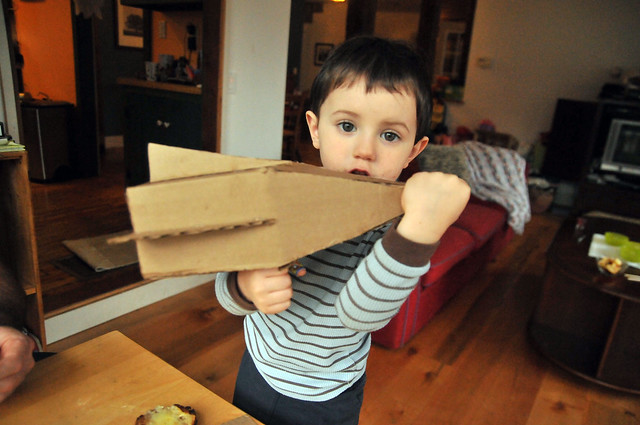
* Spend the next several hours in test-flight operations.
Also ...
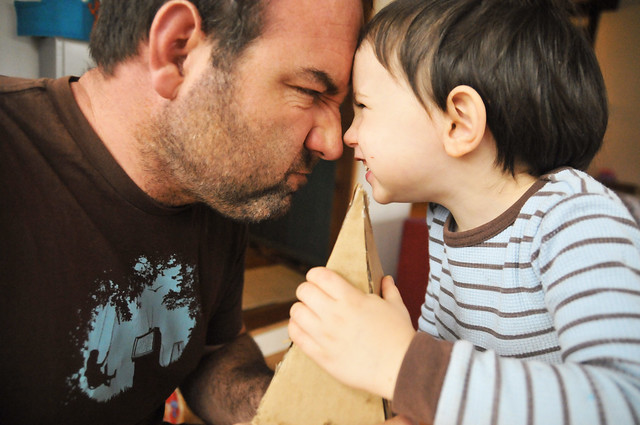
Say 'Thanks' to the engineer. He likes to be appreciated.
love this. LOVE. and that last photo is perfect. You couldn't have planned all that brown and blue--so great!
ReplyDeletekudus, my friend.
kudos. and you could've planned all that brown and blue, but i know you didn't, which is why i especially love it. i'll stop talking now.
ReplyDeleteI am so fly-by-the-seat-of-my-pants ... it's true.
ReplyDelete: )
Very crafty! And I do adore the photo of the engineer appreciation.
ReplyDelete